JKmotorsports
tahoeyukonforum.com
My factory aux transmission cooler started leaking, so rather than replacing it with the stock cooler, I purchased a much better unit from Fluidyne.
Here are the steps to install a new unit. Keep in mind, the mounting steps may be a little different depending on which cooler you choose, but are general ideas you can work off of.
I was in a hurry to bypass my factory cooler in the meantime until my new unit came in, so I didn't take any pics of the removal procedures for the stock unit, but will explain as good as I can.
You will need about 3ft of standard 3/8" transmission hose, four (4) hose clamps to secure the hose, and some nuts/bolts to secure the cooler (quantity will depend on specific application).
1. Removing the grille
This is for a Tahoe, but The Yukon grille isn't much different.
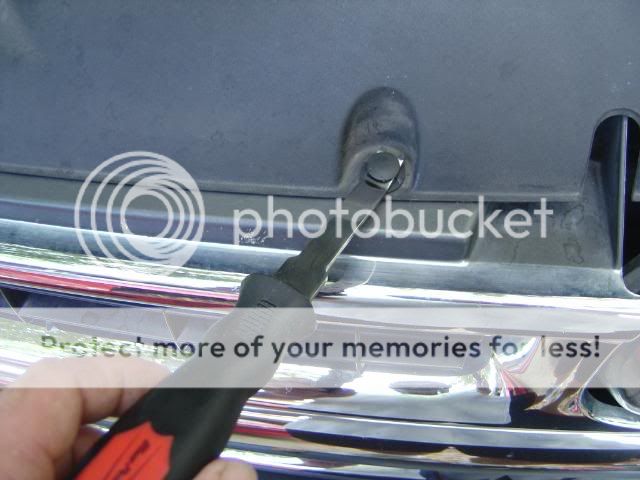
a. First, you'll have to remove the upper radiator cover. There are seven(7) push pin clips holding the cover in place. Use a panel clip removal tool (or similar tool) and remove the clips. Remove the cover. See pic below.
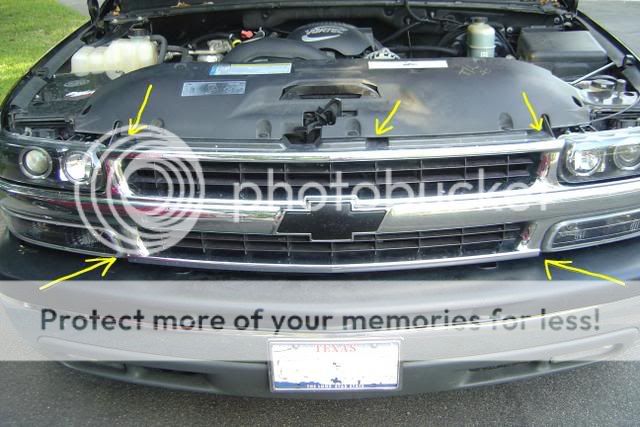
b. Next, there are four plastic retainers, a 10mm bolt, and two clips holding the grille in place. (the next pic will show the locations of the bolt and retainers with the upper radiator cover in place. They are easier to see and get to with the cover off).
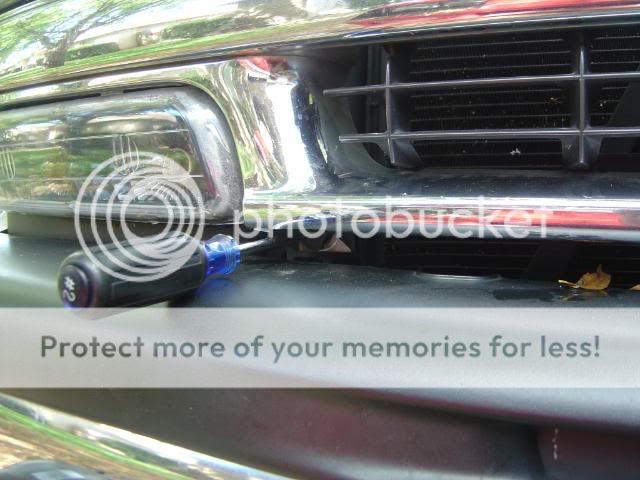
c. Twist the plastic phillips head retaining screws about 1/4 turn counter-clockwise to disengage.
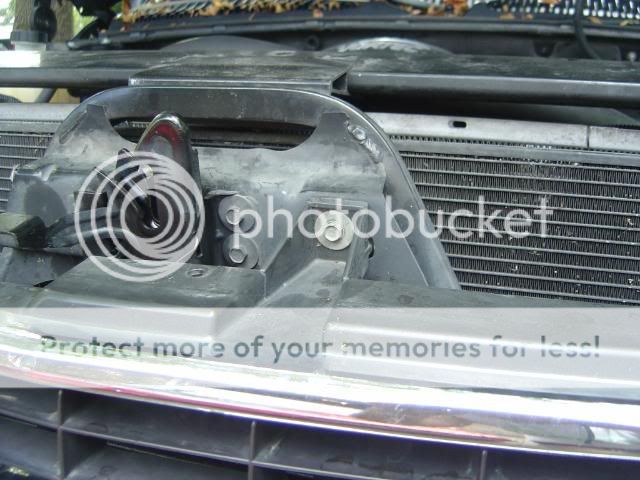
d. Remove the 10mm bolt from top center area of grille.
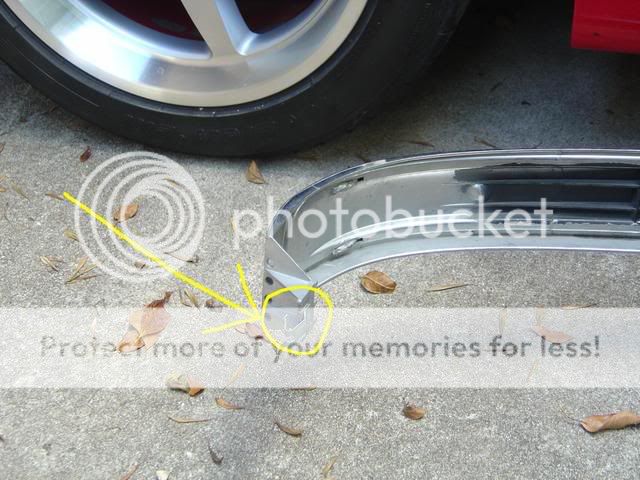
e. Each end of the grille is held in place by snap in clips. Carefully pull to un-snap each end to remove the grille. Below is the location of the clips.
2. Removing the stock cooler
a. Place a drain pan under the vehicle to catch any leaking fluid.
b. Disconnect the transmission oil cooler lines from the auxiliary cooler.
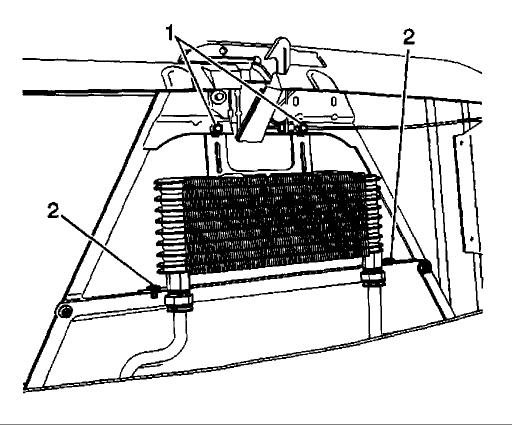
c. Remove the auxiliary oil cooler bolts (1) and push pins (2). See illustration below.
While the grille and everything else is out of the way, you may want to rinse out the front of the A/C condensor and radiator clean of debris.
3.Installing aux cooler
a. Hold cooler in suitable location and observe mounting location. I placed mine to the left side of the stock location.
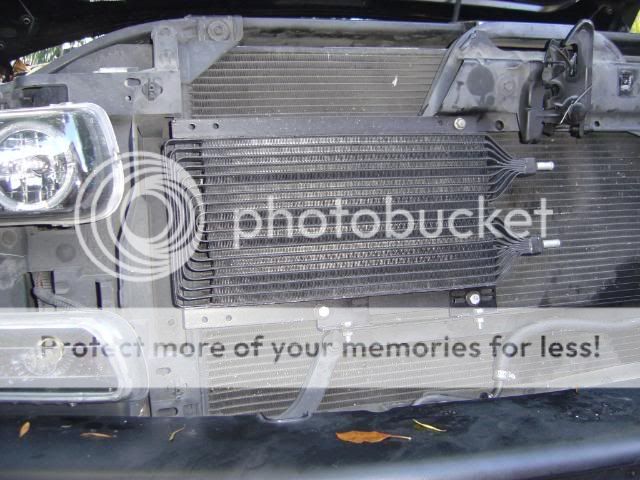
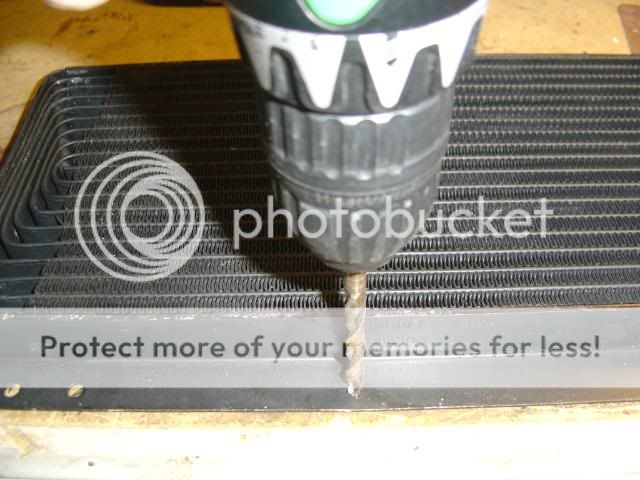
b. This is where things may be a little different depending on the actual cooler you use. I made brackets and drilled holes at the places where the brackets would mount to the cooler and truck. After drilling the neccessary holes, I painted any bare metal with black primer to prevent any rust or corrosion. I used some bolts, nuts, and washers to secure the brackets and cooler.
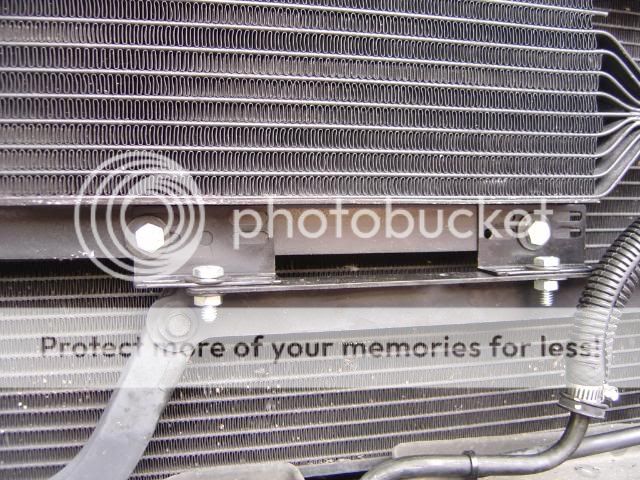
c. Once the cooler is mounted, it is time to attach the trans cooler hoses. Slip a hose clamp on one end of the rubber hose you purchased and secure onto one of the metal lines from the transmission. Now route this hose to one of the fittings on the new cooler and mark where you will need to cut to length. Cut the hose. Slip on another hose clamp and secure the hose to the new cooler.
d. Repeat the above procedure for the remaining stock trans line and fitting on the new cooler.
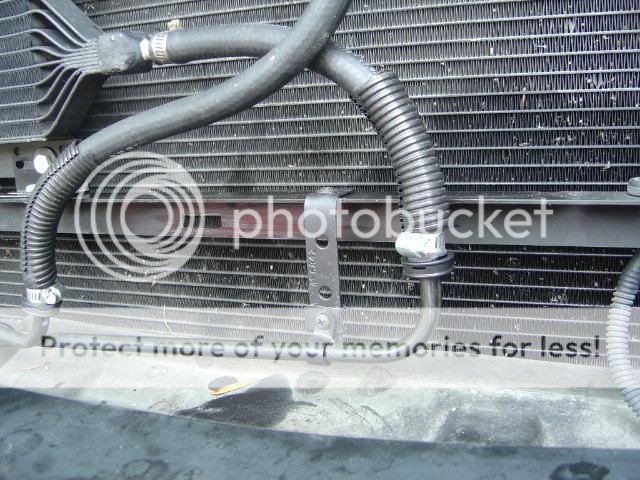
Once you have finished securing hoses, double check to make sure all four connections are tight. If you have a second person available, have that person start the vehicle while you observe the connections to make sure there are no leaks. If satisfied with your connections, you can begin to re-install your grille and upper radiator cover.
Before you put the truck back together, you may want to take this oppurtunity to lubricate the hood release mechanism while you have easy access to it.
Here are the steps to install a new unit. Keep in mind, the mounting steps may be a little different depending on which cooler you choose, but are general ideas you can work off of.
I was in a hurry to bypass my factory cooler in the meantime until my new unit came in, so I didn't take any pics of the removal procedures for the stock unit, but will explain as good as I can.
You will need about 3ft of standard 3/8" transmission hose, four (4) hose clamps to secure the hose, and some nuts/bolts to secure the cooler (quantity will depend on specific application).
1. Removing the grille
This is for a Tahoe, but The Yukon grille isn't much different.
a. First, you'll have to remove the upper radiator cover. There are seven(7) push pin clips holding the cover in place. Use a panel clip removal tool (or similar tool) and remove the clips. Remove the cover. See pic below.

b. Next, there are four plastic retainers, a 10mm bolt, and two clips holding the grille in place. (the next pic will show the locations of the bolt and retainers with the upper radiator cover in place. They are easier to see and get to with the cover off).

c. Twist the plastic phillips head retaining screws about 1/4 turn counter-clockwise to disengage.

d. Remove the 10mm bolt from top center area of grille.

e. Each end of the grille is held in place by snap in clips. Carefully pull to un-snap each end to remove the grille. Below is the location of the clips.

2. Removing the stock cooler
a. Place a drain pan under the vehicle to catch any leaking fluid.
b. Disconnect the transmission oil cooler lines from the auxiliary cooler.
c. Remove the auxiliary oil cooler bolts (1) and push pins (2). See illustration below.

While the grille and everything else is out of the way, you may want to rinse out the front of the A/C condensor and radiator clean of debris.
3.Installing aux cooler
a. Hold cooler in suitable location and observe mounting location. I placed mine to the left side of the stock location.

b. This is where things may be a little different depending on the actual cooler you use. I made brackets and drilled holes at the places where the brackets would mount to the cooler and truck. After drilling the neccessary holes, I painted any bare metal with black primer to prevent any rust or corrosion. I used some bolts, nuts, and washers to secure the brackets and cooler.


c. Once the cooler is mounted, it is time to attach the trans cooler hoses. Slip a hose clamp on one end of the rubber hose you purchased and secure onto one of the metal lines from the transmission. Now route this hose to one of the fittings on the new cooler and mark where you will need to cut to length. Cut the hose. Slip on another hose clamp and secure the hose to the new cooler.
d. Repeat the above procedure for the remaining stock trans line and fitting on the new cooler.

Once you have finished securing hoses, double check to make sure all four connections are tight. If you have a second person available, have that person start the vehicle while you observe the connections to make sure there are no leaks. If satisfied with your connections, you can begin to re-install your grille and upper radiator cover.
Before you put the truck back together, you may want to take this oppurtunity to lubricate the hood release mechanism while you have easy access to it.
Last edited:
