Attempting to remove amber from headlights!

Disclaimer: Links on this page pointing to Amazon, eBay and other sites may include affiliate code. If you click them and make a purchase, we may earn a small commission.

Rwayne

Full Access Member
Joined
Oct 26, 2007
Messages
207
Reaction score
0
Location
Lone Star State
Original posted in wrong year models..... ?!?

Thanks to RT :yaya: i have some headlights to experiment with so i can hopefully keep stock housings. I'm gonna attempt this one way or another but i was wondering if anybody had done this or something similar to this and had any advice to add to my so-called plans.
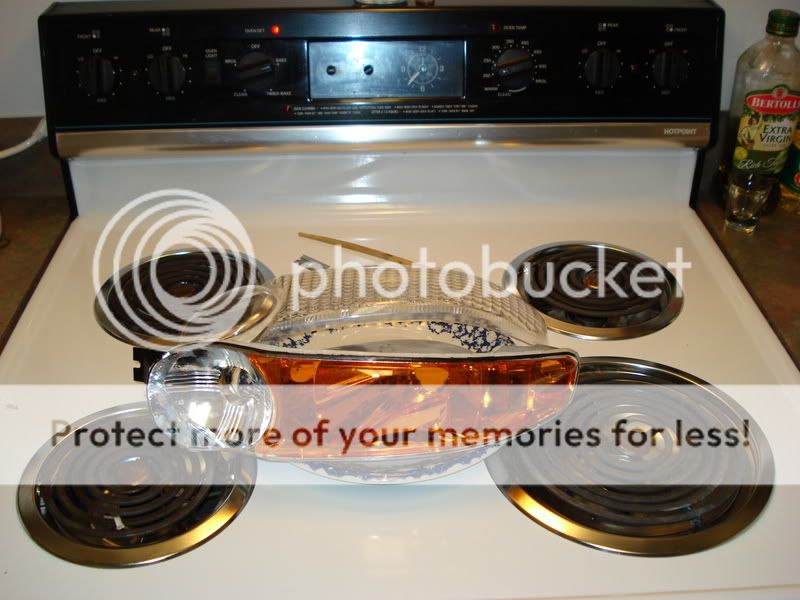
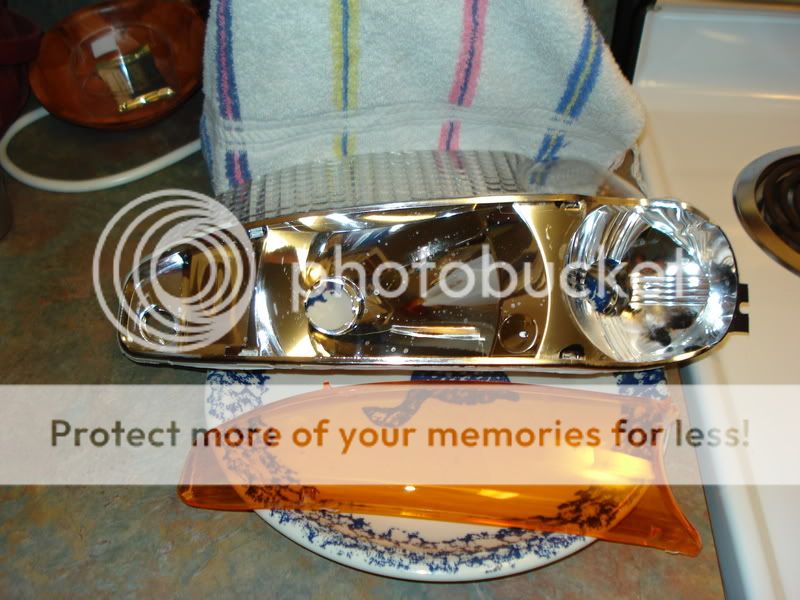
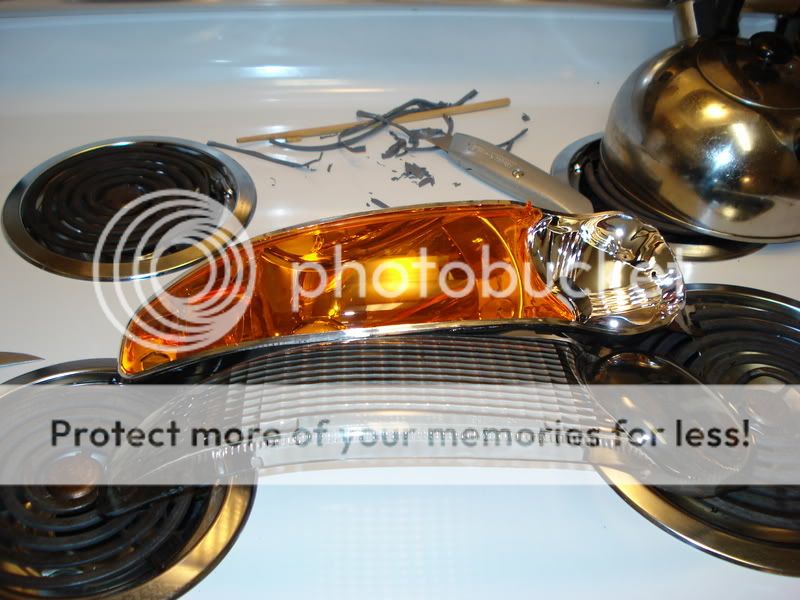
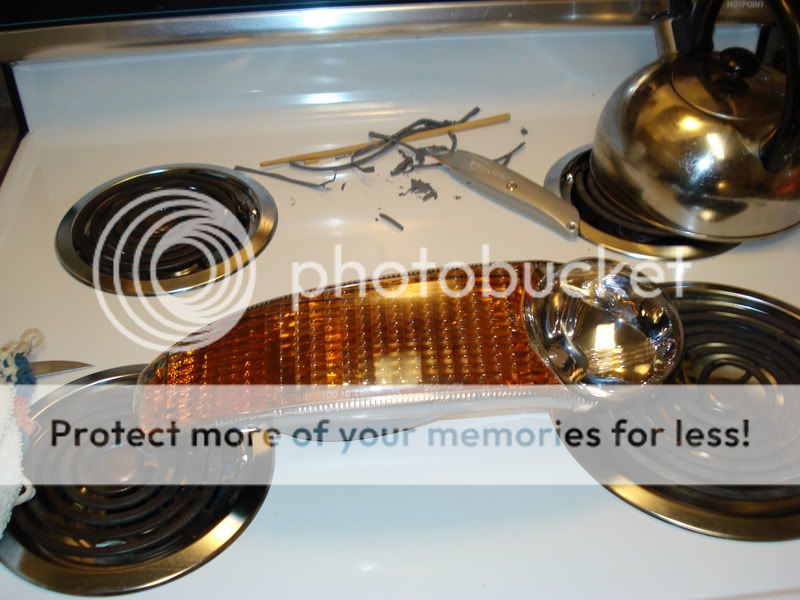
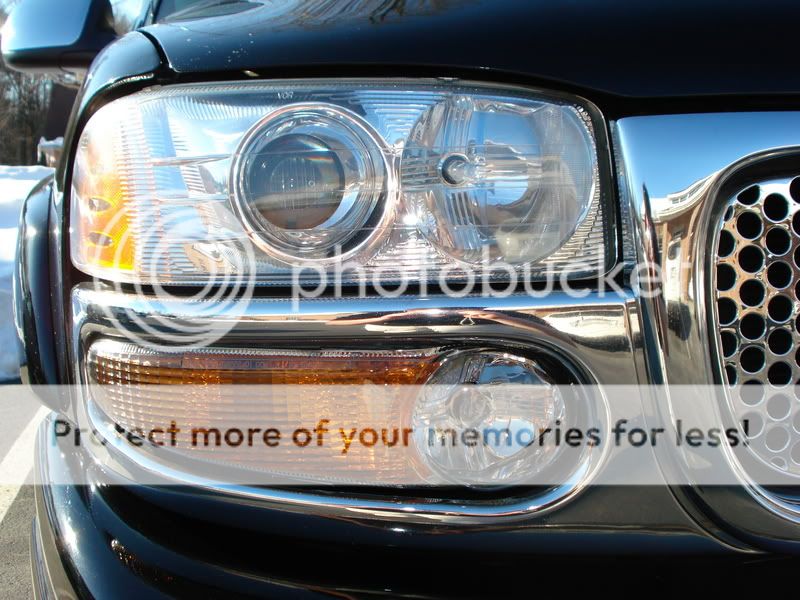
To start, I plan on cracking the lense off by heating the headlight assembly up in an oven or possibly a heat gun. Then i want to pop the amber out and see what it looks like without it and if it doesn't look good then i'll lighty smoke it. Then clear the joints and silicone it back up. I almost started the other day but i wasn't sure on what temperature i should set the oven at or if i should remove the adjustment part of the assembly. Help always appreciated!
 

boostaholic

Full Access Member
Joined
Jan 2, 2007
Messages
2,120
Reaction score
0
Location
Denver
Denaliano said:
Ok - Here we go, pretty simple actually and I'm sure you guys have seen/heard this (http://www.denalitrucks.com/documents/clear_lens.txt).

My trucks front park/turn lenses had hard water stains in them... Chrome flaking away from the inside.. and the clear outer lens is full of dings from rocks and road debris... So I bought a set of smoked lenses on ebay.

Installed

clear2.jpg


I'm not crazy about the look, it almost "needs" the amber...

My plan, dissect my OEM lenses, remove the amber and reinstall in my new aftermarket lenses. Will it work? LoL.. Pics will be posted with my progress over the next few days.

Step 1.

Bake housing in oven at 225-250 for 15-20 minutes, start cutting the sealant with a razor to remove lens. I used a chopstick opposed to a screwdriver... Pry, slice, pry, slice. Takes time, but got it off.

DSC00810.jpg


Step 2. Re-bake housing for 10-15 minutes. By this time after 20 minutes of prying and slicing... the assembly has cooled. Once it's back out of the oven, the glue holding the amber "triangle" is soft and it can be removed quite easily.

DSC00812.jpg


More pics to come - I plan on repeating this with my new aftermarket lenses - hopefully (won't know until i get it apart) the new one is close enough of a match to OEM, the amber can be placed inside with no problems... :hmm:

Day 2

I went gung-ho last night, and got them finished. I was pleasantly surprised that the Revotec aftermarket Denali lenses were identical, identical to the OEM lenses, just minus the amber "triangle"

Dissected the new lenses, glued amber inside..

DSC00817.jpg


Finished, sealed with Permatex.

DSC00818.jpg


OEM and Smoked comparison.

DSC00819.jpg


And some shots of the final outcome. I like it!

smokedinstalled2.jpg


DSC00825.jpg

Similar steps for the headlights but I hear they are a bitch to get loose (need to heat in the oven and cut the top of the housing). Butter knife, oven, silicone and alot of patience will be required, good luck bro :cheers:
 

Rwayne

Full Access Member
Joined
Oct 26, 2007
Messages
207
Reaction score
0
Location
Lone Star State
Similar steps for the headlights but I hear they are a bitch to get loose (need to heat in the oven and cut the top of the housing). Butter knife, oven, silicone and alot of patience will be required, good luck bro :cheers:

I have the patience! I'm just a little skeptical just cause they're not the headlights shown.. I know the turn signals don't have the adjustment part attached, do i need to take it off??
 
Top