I scoured the web for details on how to do this job, including this thread, which helped a lot at least to get the courage to dive in.. I'm not mechanic and I've never dug this deep into the engine, but i had all the tools i needed from repairs done in the past (alternator, water pump, etc..) and i agree.. it's not difficult but there's a lot to remove.. labeling everything was a huge help. and there are a lot of videos and pictures out there, this post helped a lot:
http://www.d-tips.com/general/articles/article.aspx?id=11
My Symptoms:
I was missing coolant but had no leaks.. i found coolant in my oil during the last oil change, radiator did not seem to have any oil discoloration (recent flush and no oil in there either).. i had been losing coolant noticeably for about 3k miles.. I developed a knock on startup which went away after about 2 minutes of warm up. I thought initially it was my head gasket, found out the stock manifold gaskets are junk
Just to help out anyone attempting this repair, here are some notes from my adventure.. I have a '99 tahoe LT 4x4 103k
-You dont need to remove the alternator
-I did not remove the upper intake
-You can slide the AC compressor bracket forward without removing the Power Steering pulley, there is a screw about 1 inch to the right and about 6 inches back from the lower left bracket screw, i think its 14mm.. but i was able to remove it with an extension on the ratchet. wasnt hard, but was hidden
-I could not remove the fan, but removed the upper shroud.. it required a wrench bigger than anything i had, i've also seen some serious struggles removing it.. so i just removed the screws to give me some space (after if realized that the screws didnt release the fan), this just helped get to the AC screws really.. so its not necessary
-I removed both valve covers and replaced the gaskets since I was there.. found some "milkshake" froth in one of them and cleaned them up, this made getting the manifold out easier as well
-I marked each connector i disconnected with a whiteout marker
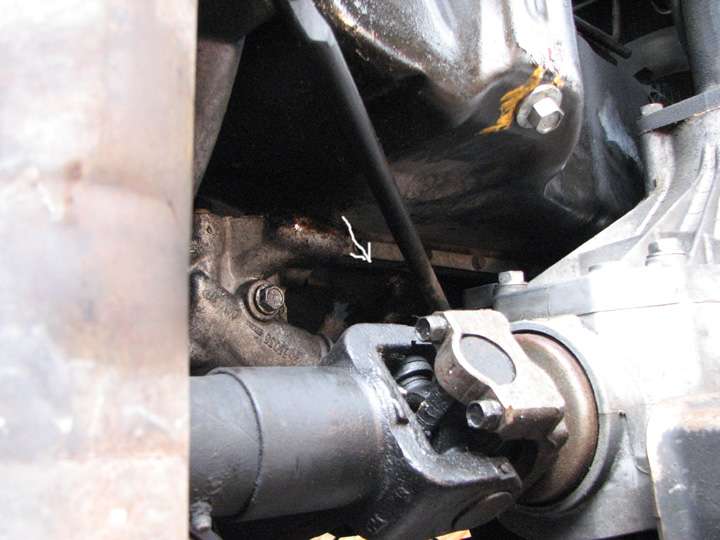
-you dont need to remove the rear wiring harness (as noted in the article above) which is on the passenger side of the engine, you can bend it back (carefully) 1st, but it will need to be loosened in order to get the manifold back on cleanly.. there was a ground wire attached on mine (it broke and i'm not sure what it does, thoughts?)
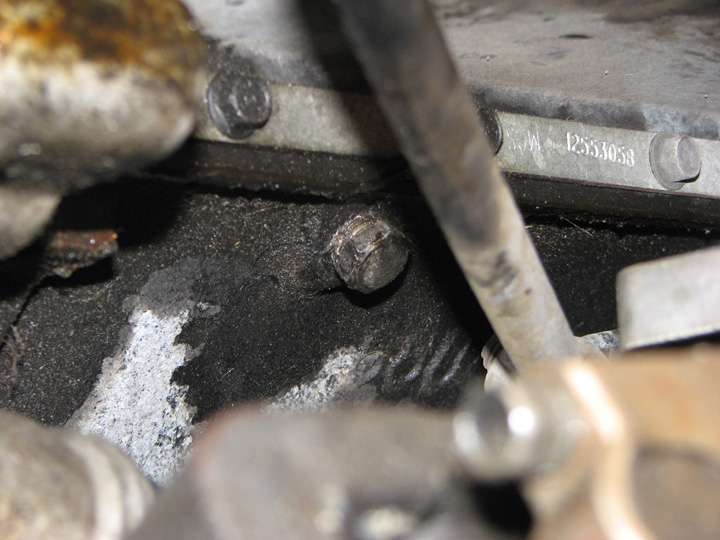
-clean the surfaces very well, i applied a little bit of "Grey" to the ports on the manifold which were corroded, and around the ports which had "pitting" on the engine, i've read different feelings on that subject.. but i went for it
-Pour a bunch of oil down the valley after the cleaning and replace the oil before the 1st start
-flushed coolant by removing the lower hose after the reassembly
-removed the oil after reassembly before the 1st start
-drove it lightly about 50 miles and performed engine flush and replaced oil and filter (30% lucas to be safe)
-so far so good, I dont seem to be losing coolant and the truck runs just like it did before the change (very nicely)
so thanks for posting this info, and hopefully someone will find this additional info helpful. I was quoted $800 in labor for the job, and seeing I dont have $800 lying around, the repair has been well worth it..
:smokin: