View attachment 6903
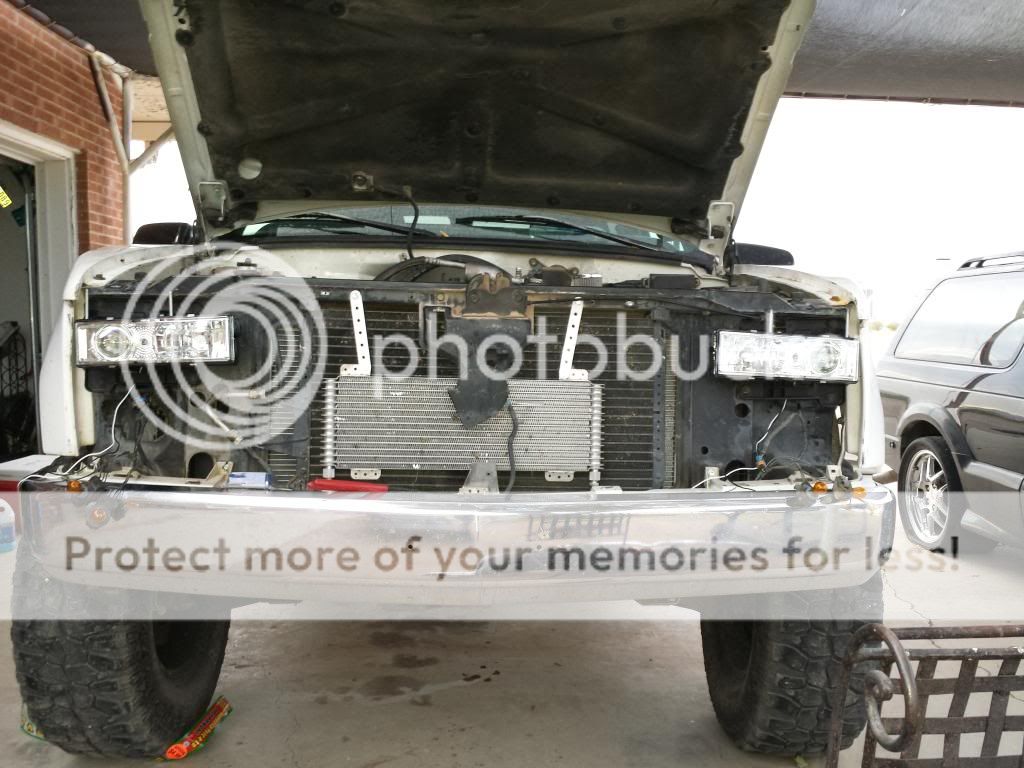
Here's how mine looked after I was done.
I stayed with the stock looking lights, as I was concerned of going with something non-stock, or projector style and then possibly having reduced light spread on the road at night. ( I do have the Hi-4 Kit, had this for a good number of years before the swap, and PIAA High Output Lamps-Bulbs)
Of course after installation, one then needs to do light beam alignment, and this can take some time as well. Too high, or too low is no good, as too high you're blinding oncoming drivers, or even torturing a driver right in front of you, too low and the lights are then ineffective, and of course one doesn't want the lights either crosseyed, or looking like Marty Feldman, with either the left beam going off far into another driving lane, or the right off in the ditch.
Finding and facing a wall of a building, and situating yourself on level ground at a few different fairly close distances (of say 10'-20' 40') was one method I used initially, as well as finding a dark secluded hardly traveled road, and also then some actual road testing outside of town. Proper alignment was in my eyes quite important, as where I live here, 3 minutes out of town, and there's nothing, no street-road lighting at all.
Another tip, and knew this from past experience, was taping and securing the socket to the 1/4" ratchet extension with a small piece of good duct tape, to adjust the two adjustment screws per light housing, as I once had one come off, and then the socket goes somewhere into Limbo, and is a SOB to then find. I simply used a 1/4" drive Screwdriver on the 1/4" extension, and had a good flashlight along when doing the adjustments in the dark.
Again, hope some of this helps you and others.